Shopify Product Photography Setup Guide
Everything you need to set up product photography for your Shopify fashion store. Equipment, workflow, AI tools, and the image strategy that drives conversions.
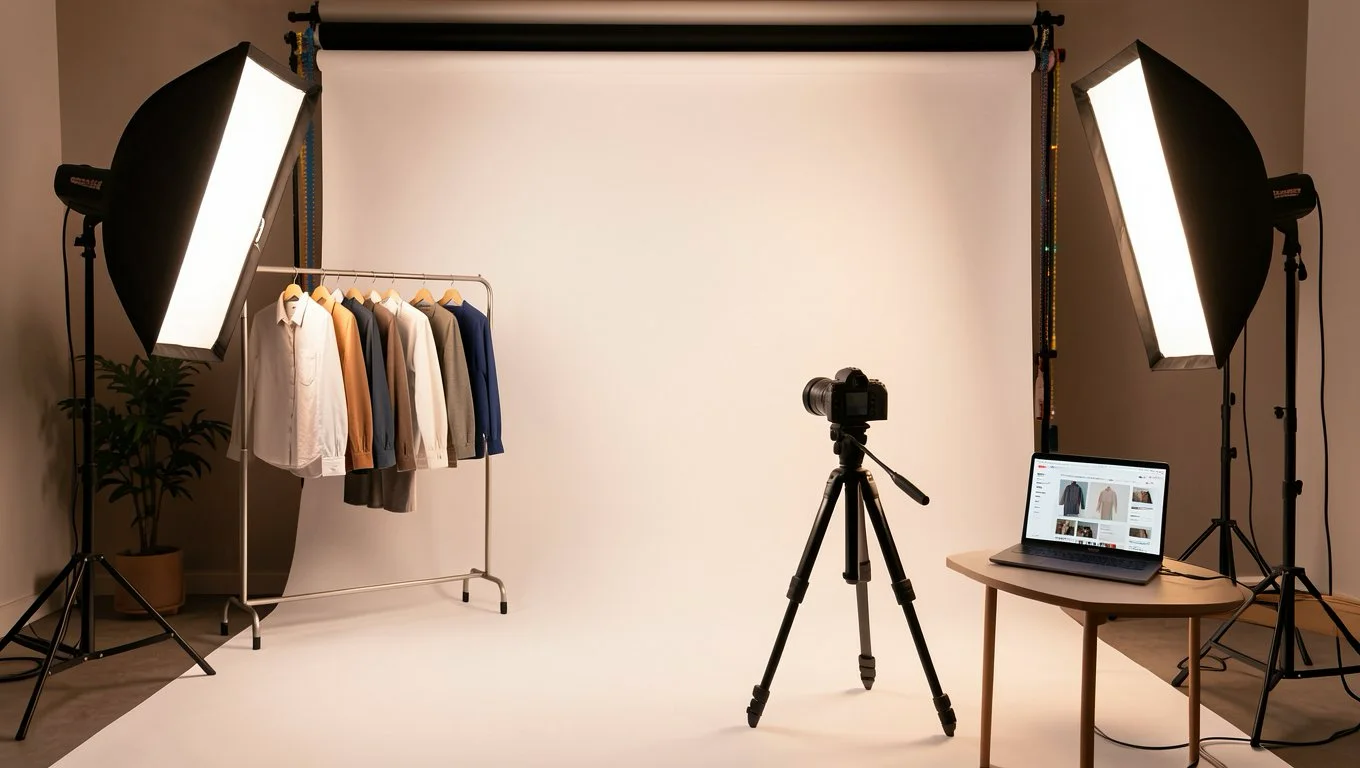
Shopify gives you complete control over your store's visual experience. Unlike marketplaces that dictate exact image specs, you choose your aesthetic. That freedom is both an opportunity and a challenge. No guardrails means no excuses for poor photography.
Here's how to set up a photography system for your Shopify fashion store from scratch.
The equipment you actually need
Camera: Your smartphone is enough to start. iPhone 12+ or Samsung Galaxy S21+ have cameras capable of professional product photography. If you want a dedicated camera, a mirrorless like the Sony a6000 (used, Rs 25,000-35,000 / $300-400) is more than sufficient.
Lighting: This is where you shouldn't cut corners. Two options:
Budget setup (Rs 3,000-5,000 / $50-80):
- •Two clamp lights with daylight-balanced LED bulbs (5500K)
- •Two white foam boards as reflectors
- •A large window as your key light (free)
Professional setup (Rs 8,000-15,000 / $100-200):
- •Two softbox lights with stands (1000W equivalent each)
- •Consistent output regardless of weather or time of day
Background: A roll of white seamless paper (Rs 800-1,500 / $15-25) or a large white sheet. For lifestyle shots, a clean wall or simple backdrop works.
Tripod: Any basic tripod (Rs 1,000-2,000 / $15-30). Consistency between shots matters more than the tripod quality.
Steamer: Rs 1,500-3,000 / $20-40. Non-negotiable. Wrinkled clothes don't sell.
Total startup cost: Rs 5,000-15,000 / $80-200. Less than a single professional photoshoot session.
Shopify image specifications
Shopify recommends:
- •2048 x 2048 px square images (1:1 ratio)
- •JPEG or PNG format
- •Maximum file size: 20 MB (but aim for 200-500 KB for load speed)
- •Consistent aspect ratio across all products
- •Minimum 4 images per product, ideally 6-8
Shopify automatically generates different sizes for different contexts (thumbnail, product page, zoom). Start with high resolution and let Shopify handle the rest.
The image strategy that converts
Your Shopify store needs different types of images serving different purposes:
Image 1 (Hero shot): On-model photo showing the complete garment. This is what appears in collection pages, search results, and ads. Make it count. AI model photography is perfect for this.
Image 2 (Back view): Show the back of the garment on the model. Buyers want to see both sides before purchasing.
Image 3-4 (Detail shots): Fabric texture, print quality, hardware (buttons, zippers), stitching, labels. These build trust and reduce returns. Use real photographs for these.
Image 5 (Scale/fit shot): Three-quarter view showing how the garment drapes and fits. Include model measurements in your product description.
Image 6 (Lifestyle shot): The garment in context. An AI-generated lifestyle background can transform a standard product photo into an aspirational image.
Image 7 (Size chart): A clear, readable size guide as an image. This single addition can reduce size-related returns by 15-20%.
The workflow: from garment to listing
Batch your photography. Don't photograph one product at a time. Set up your station and shoot all products in one session. Aim for 30-50 products per session.
Shoot sequence per garment:
- Steam the garment (2 minutes)
- Lay flat on white background, arrange naturally
- Photograph flat lay (your AI input)
- Photograph fabric close-up
- Photograph any unique details (hardware, print, construction)
- Move to next garment
AI generation phase:
- Upload all flat lays to your AI tool
- Set your persistent model (use the same model across your entire store)
- Generate model shots (front, back, lifestyle)
- Review and regenerate any that need improvement
- Download in Shopify-optimized format
Upload to Shopify:
- Organize images by product
- Upload via Shopify admin (or use bulk tools like Matrixify)
- Add alt text for SEO (describe what's in the image)
- Set the hero on-model shot as the primary image
Speed optimization
Product photography can be a bottleneck, but it doesn't have to be.
Single photographer, 50 products/day: With a streamlined flat lay setup, one person can photograph 50 garments in 4-5 hours. That same batch can be AI-processed overnight.
Batched AI processing: Upload all 50 flat lays at once. Set model and background. Generate in batch. Review in batch. This is faster than generating one at a time.
Template-based editing: Create a Lightroom preset or editing template for your detail shots. Apply to all images in batch. Consistent editing in minutes, not hours.
Common Shopify photography mistakes
Inconsistent image sizes. If some products have square images and others have portrait or landscape, your collection pages look messy. Pick one aspect ratio (1:1 is safest) and stick with it.
Too few images. Every missing image is a question you're not answering. Use all available image slots. Stores with 6+ images per product consistently outperform those with 2-3.
Ignoring mobile. Over 70% of Shopify traffic is mobile. Check how your photos look on a phone. Can buyers see detail? Does the first image make them want to tap? Is the text on your size chart readable?
Not using alt text. Every image should have descriptive alt text. This helps SEO and accessibility. Format: "[Product name] - [what's shown] - [brand name]"
Bottom line
Your Shopify store's photography doesn't need to be expensive. It needs to be systematic. A Rs 10,000 equipment setup plus AI model photography produces professional results that compete with brands spending Rs 5,00,000 on traditional photoshoots.
The key is building a repeatable workflow: photograph consistently, process with AI, upload systematically. Do this well, and your product photography becomes a competitive advantage instead of a bottleneck.
Ready to try AI product photography?
Start with 3 free images. No credit card required.
Start Free Photoshoot